When Chris Peregoy ’81, visual and performing arts, M.F.A. ’99, intermedia and digital arts, received a tin full of Christmas cookies from his sister around the year 2000, he immediately dumped the contents out on the table to eat later. He had a moment of inspiration staring at the empty container—“This tin would make a great camera.”
If you’ve ever looked at an oatmeal container, a hollowed-out book, a mailbox, or an entire room, and thought, “This object would make a great camera,” chances are you are familiar with the concept of a pinhole camera. It’s photography distilled to its most basic elements: a light-proof box, a lens—which is often just a literal hole made from a pin—and some film or photographic paper.

Peregoy, the lab manager for the Department of Visual Arts, has worked at UMBC since graduating from the photography program in 1981 and will retire this summer, but he leaves behind a substantial legacy in his 6-foot 8-inch wake. He’s also leaving behind a few dozen handcrafted pinhole cameras from his company Pinhole Blender for students to keep using in their photo classes.
In addition to the helpful labels on each camera describing exposure time in different types of light, Peregoy has some useful hints for the rest of us who might want to dabble in the non-digital world of making photos.
Tools of the Trade:
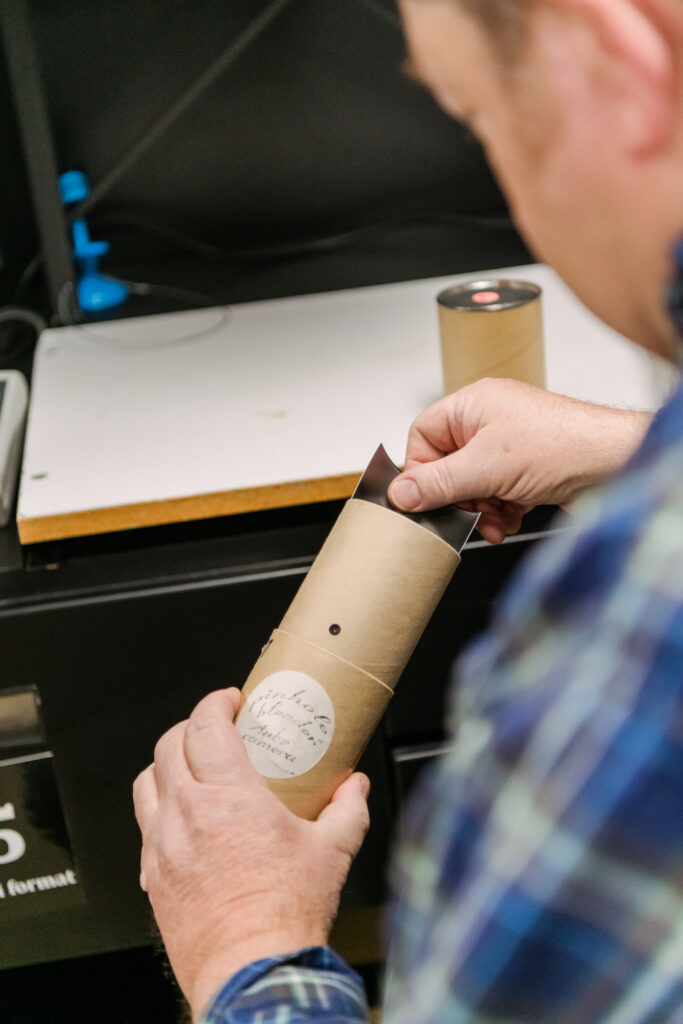
- A light-proof container—a great second life for the shipping tube your diploma arrives in
- A pin to make the eponymous pinhole
- Small square of black tape to act as a shutter
- Film or photo paper
- Access to a darkroom (but if not, you can still make it work)
Step 1: MAKE YOUR CAMERA (OR BUY ONE FROM PEREGOY’S COMPANY).
Cookie tins aside, Peregoy says he isn’t someone who makes cameras out of odd objects for the most part, although those people are out there. Shipping tubes and oatmeal containers (especially before Quaker changed their lids to transparent plastic) are his go-tos (although he’s making a camera for his retirement party out of an old whiskey barrel the brewery near his house is giving him).
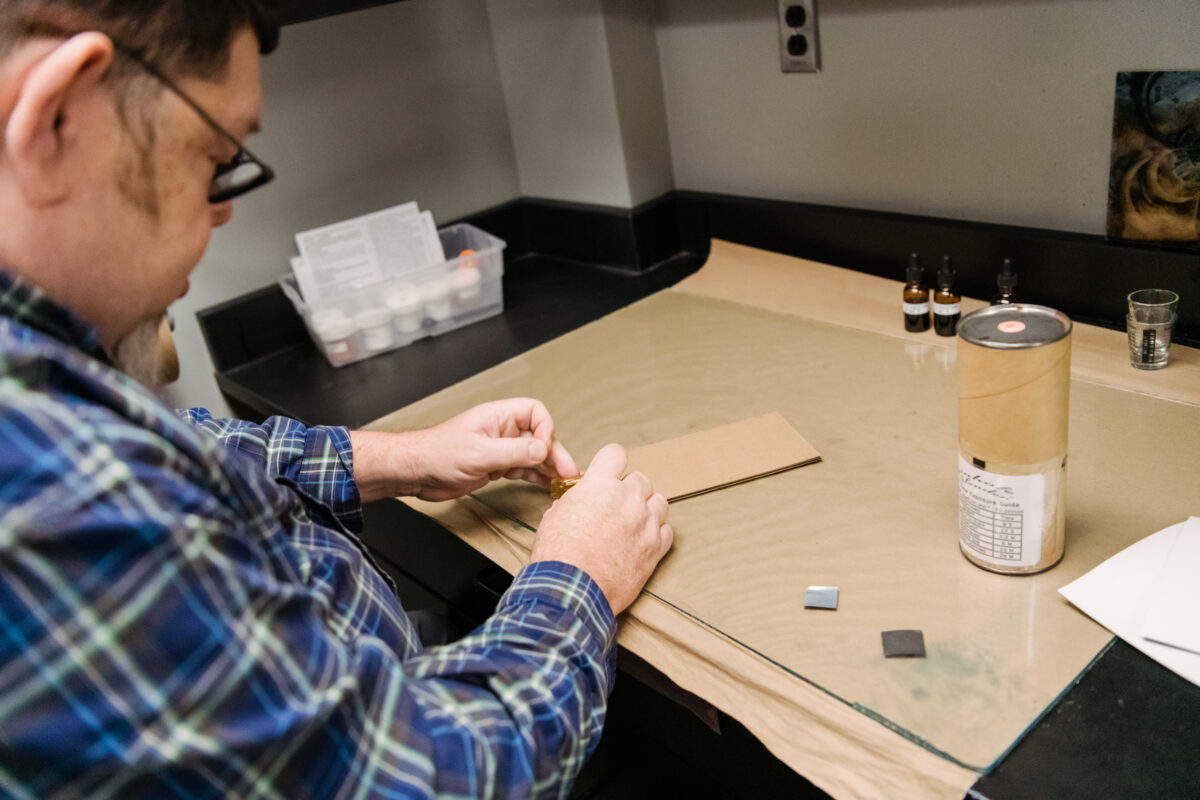
You need an opening large enough to arrange the film in the containers and a way to reseal the box/tube/pumpkin/ etc. When you make the pinhole, Peregoy recommends pushing a pin through a small square of soda-can material and smoothing out any burrs with fine sandpaper. Affix this metal piece to the camera body with black tape. Then you need to attach a shutter— something that ends the light exposure—like a piece of black electrical tape.
Step 2: LOAD YOUR CAMERA.
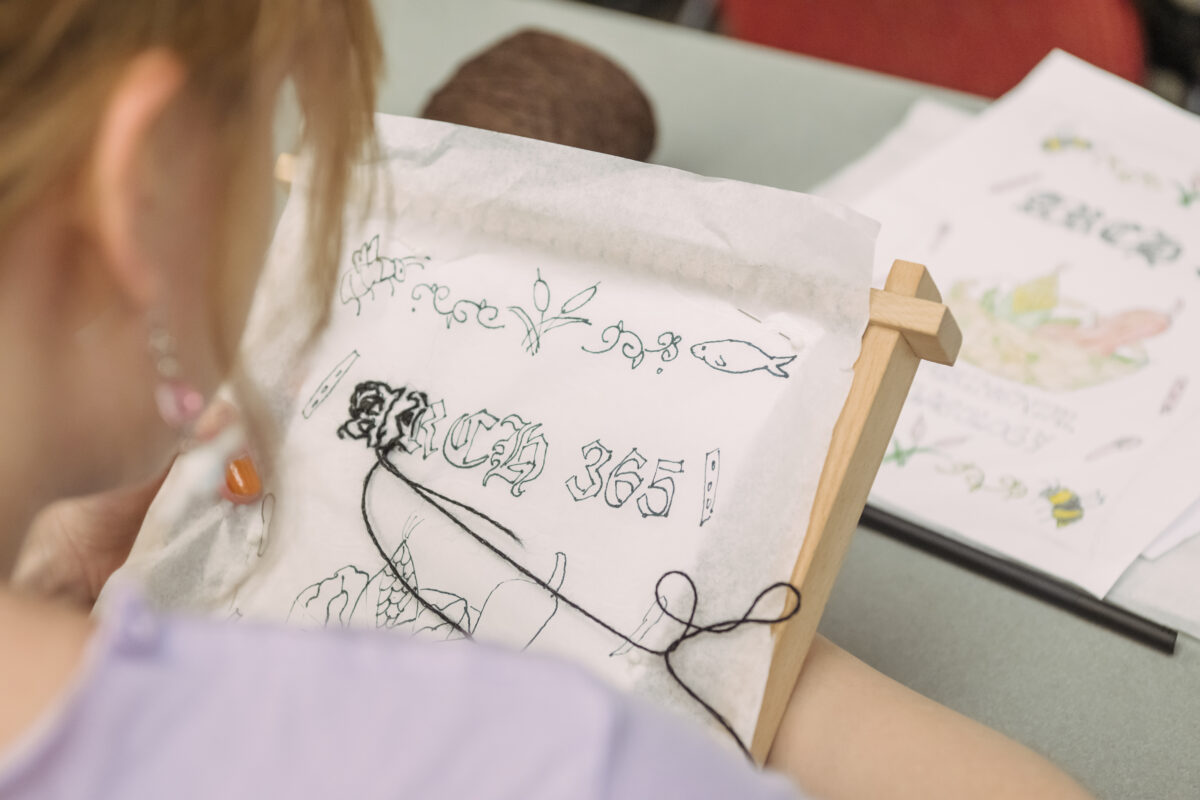
Load the camera with the film or photo paper in a darkroom (you can improvise with cardboard taped over your bathroom window, in a pinch). Now you need to choose your subject. “One of the aspects of the pinhole camera is that although it might not create a sharp picture like a real lens, it has an incredible range of focus,” says Peregoy. “So things a quarter inch away from the pinhole will be as focused as things that are 30 feet away.” In his own pinhole work, Peregoy often uses miniature dolls or statues as subjects in the photos, using the strength of the camera to play with perspectives.
Most often, when students are released from the classroom to go take photos, for time reasons, they don’t stray far. “I’ve seen a lot of pictures of the Fine Arts building,” laughs Peregoy. But even so, he’s still surprised sometimes. In one image of a rocky scene with a building in the background, Peregoy did a double take; despite his many decades on this campus and specifically in this building, he didn’t recognize the shot. The student revealed they had laid down in a drainage ditch, and yes, indeed, it was still Fine Arts in the background.
Step 3: DEVELOP YOUR FILM.
Next comes film development. For students, that means learning the rules of the darkroom. “I didn’t know what a pinhole camera was,” says Erin Cusick, a sophomore who is taking the class for elective credit. “It’s been so fun to see how exposing the paper to light and then using time to play with the way the image develops,” says Cusick as she leans over a tray of chemicals in the darkroom watching her image appear.

But Peregoy offers two alternatives for a darkroom-free pinhole experience—solargraphy and lumen photography. Solargraphy uses a pinhole camera and exposes the image outside for several months, burning the path of the sun and the stars into the paper. Lumen prints use photo paper overlaid with flowers or other objects, which after exposure to sunlight will create an ethereal image on the paper. It’s a fragile process, says Peregoy, and the paper should be scanned digitally because eventually the image will fade from the paper.
Step 4: KEEP PLAYING AROUND WITH ANALOG.
“Digital has taken most of the cameras away from us,” says Peregoy. “But there are lots of old options and ways to turn old things into film or pinhole.” Cusick, in the photo class, is struck by how simple-seeming the whole process is, “but the simplicity makes it all the more confusing how it works,” she marvels.
Outside Fine Arts, the sun shines brightly on the building and Jamal Jackson, a visual arts major who transferred from Montgomery College, aligns his pinhole camera just so. “The versatility of the camera makes it so fun to play with,” he says. “It’s letting me capture my own voice in photos.”
The more you know: Discover more pinhole resources.
Tags: CAHSS, how to, Intermedia and Digital Arts, Spring 2023, visual and performing arts