With Dr. Timmie Topoleski, Professor of Mechanical Engineering
Back in 1958, when the late Japanese food magnate Momofuku Ando developed his first package of ramen – a dried noodle requiring boiling water and a simple flavor packet to deliciously “activate” in your lunch bowl – little did he know he had created what would become a staple of college culinary life. He probably also didn’t realize the wavy bricks held yet another potential use: noodle bridge.
In honor of UMBC Magazine’s very first food issue, we asked UMBC mechanical engineering professor Dr. Timmie Topoleski to consider ramen as a legitimate building material. If you build a ramen bridge, how much weight could it handle?
How big should the bridge be? How much weight should it bear? Why build it? (We’re chalking the last one up to “scientific curiosity.”)
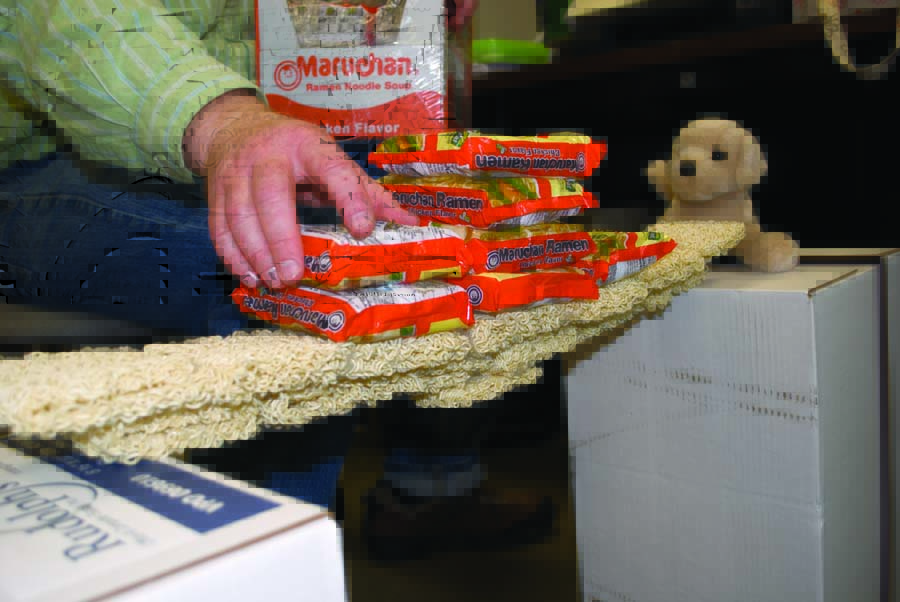
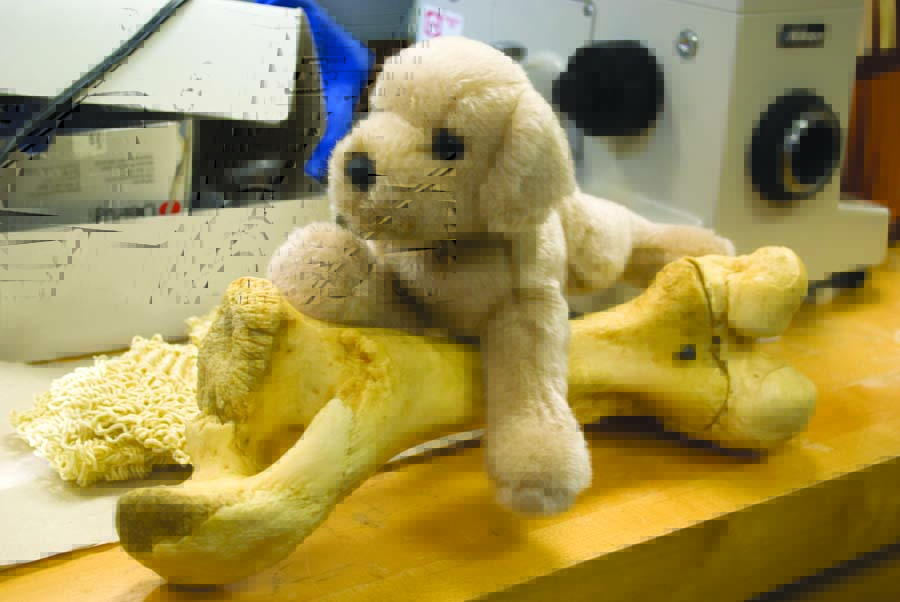
For this project we decided to build a ramen bridge that would hold any or all of the following: 1) a True Grit puppy toy, 2) a cow femur (used in Topoleski’s real-life research on wear and resistance in artificial joints), or 3) as many packets of ramen as possible, weighing three ounces apiece.
Step 2: Test the Structural Integrity of Your Materials
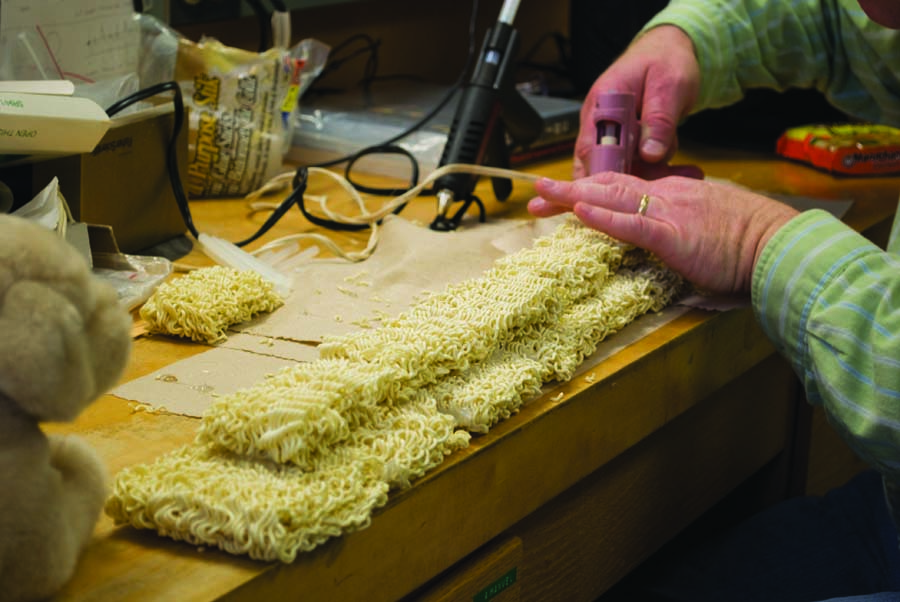
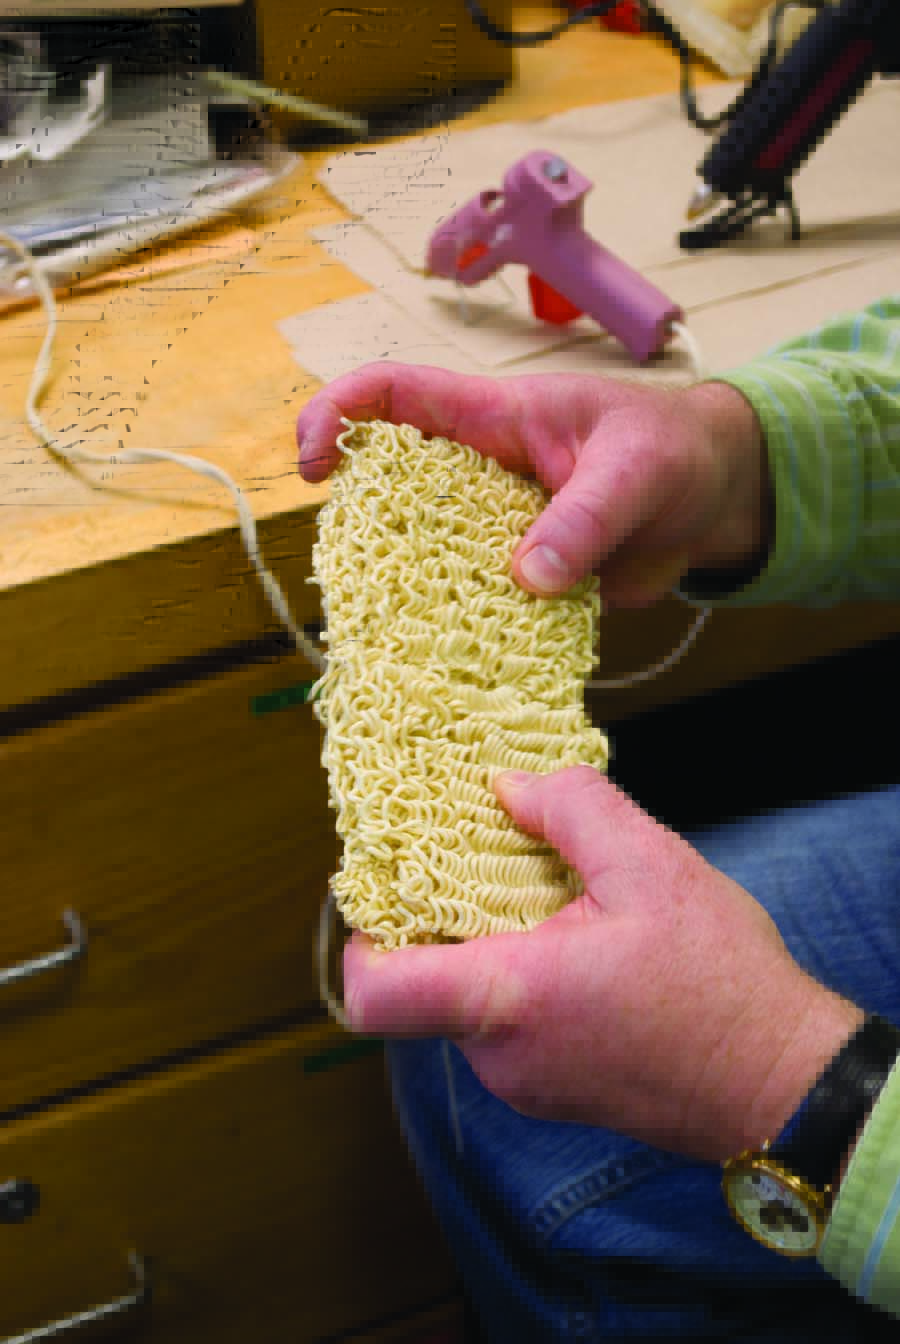
Uncooked ramen comes in solid bricks measuring around 4 by 3.5 by .75 inches. (Appetizing, right?) As Topoleski discovered, the bricks aren’t as randomly constructed as they might seem at the bottom of your lunch bowl. In fact, each has a noodly cuff on one end, perfect for joining to another brick.
Kept uncooked, ramen makes for a fairly predictable building material. So, how best to arrange it to make the strongest bridge possible? I-Beams? T-Beams? Flat or end-to-end? Considering the wavy pattern of dried noodles, Topoleski decided to try a two-tiered alternating hinge, similar to what you might find in brick wall construction.
Step 3: Determine the Best Method of Bonding
Knowing the obvious option of using uncooked ramen bricks, Topoleski also considered wetting the noodles and reshaping them to dry in another form. However, given the time constraints of a guy who is not only a popular professor but also involved in numerous campus groups, we all decided to keep things simple – and dry.
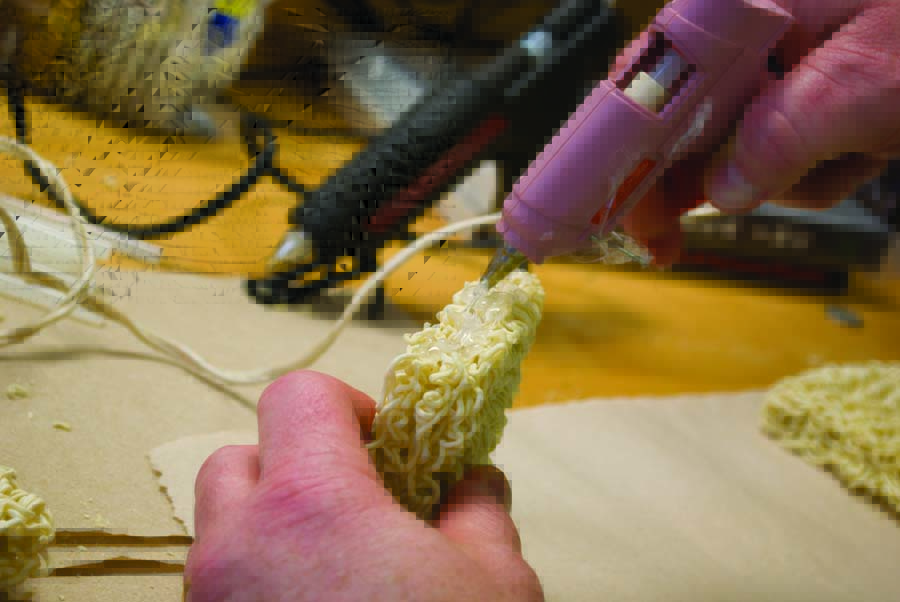
“What we need is something that will penetrate and interdigitate with the fibers [of the noodles],” he decided. Elmer’s glue? Takes too long to dry. The silicone he uses in his joint research? Much too expensive. Hot glue? Cheap, strong and fast-drying. Eureka!
Step 4: Bridge Construction
Armed with a baggie of hot glue sticks and enough ramen to feed sixty college freshmen, Topoleski started gluing…and gluing…and gluing until he had what we called “the seven ramen bridge.” Using his “spot weld” plan cost approximately one stick of hot glue per weld, so for a structure seven ramen bricks long and two high, he used a little more than a dozen sticks for mortar.
Step 5: Test, Test, Test
Now for the fun part: loading weights on top of the bridge until it breaks. As Topoleski explained it, engineers learn as much from failures as successes. Good thing, considering how quickly ours collapsed.
Balancing the span of ramen across a gully approximately two feet deep, we first tested the seven ramen bridge with the 20-ounce True Grit stuffed puppy. When that broke in half after around 10 seconds, Topoleski used the fallen halves of the bridge (three and four spans each) to test again, this time piling packets of ramen noodles as high as possible. When those also broke, he tried a tiny two-span bridge, which held the dog and the hefty cow femur for nearly 30 seconds. Seems that shorter is sturdier in the case of ramen.
“For an off-the-cuff experiment, it’s not too bad,” said Topoleski. “We definitely learned this is not the best way to make a ramen bridge!”
Results
1) The seven ramen bridge held one 20-ounce True Grit stuffed puppy or seven packages of ramen (21 ounces total)
2) The three ramen bridge held 25 packages of ramen (four pounds, 11 ounces)
3) The two ramen bridge held one 20-ounce True Grit stuffed puppy and a 2.7-pound cow femur
[youtube http://www.youtube.com/watch?v=ZMoF2ESESac]
Tags: Winter 2010

