All posts by: Jenny O'Grady


How to be a Pottery Detective

With Esther Read, Field Archaeologist
So you’re digging a garden in your backyard, and all of a sudden the point of your trowel hits something hard. You poke around a little more, brush the soil away – probably just a rock, right? But on further inspection, the “thing” you have discovered is rather glossy, with faint drawings and a whiff of history about it. When you wash it off in the sink… Voila! You have a ceramics mystery in your hands.

Since Antiques Road Show only comes around town once in a blue moon, you might be scratching your head about what to do next: keep it, or toss it? Thankfully, Esther Read, a field archeologist and lecturer in UMBC’s department of Ancient Studies, is here to help.

— Jenny O’Grady

Step 1:
Look for decorative clues

“If you found something on the ground, the first thing you would do is look at it for its decoration,” says Read, who – with the help of UMBC students and volunteers – is in the process of cleaning, identifying and cataloguing more than 4,000 artifacts found in the backyard of an historic Fells Point home.

The first step is taking a close look at decoration and shape. Then take a closer look; was the piece painted with a brush, or does it seem like one of many copies? Feel the ceramic with your hands; was the clay molded smooth by a machine or more roughly by an artisan’s hands? Shape can also help you understand what kind of vessel the piece once was. Each detail is a key to solving your mystery.

“The decoration is going to give you a clue to what kind of ceramic it is,” says Read.

Step 2:
Use your clues to figure out historical context

Decorative style reveals much about the time period in which the piece was created. For instance, a dish with images of giraffes painted in a certain shade of purple might indicate a piece was manufactured between 1760 and 1780 – a time when images from “exotic” lands were all the rage.

“We know what kinds of designs were done during certain periods from old catalogues, from antiques magazines and articles,” says Read. Every bit of the design comes into play – from subject matter to painting style. A pastoral scene might have been manufactured during the time when Jane Austen first became popular. The use of stippling – or sharp dotting with a paintbrush – indicates another time entirely.

Step 3:
Location, location, location

One of the biggest challenges in archaeology is combining this collection of physical clues with information about where you found the object, and the context of the time period – ie., sociological, economic, or political trends. All of these things in combination are necessary to assemble a full picture of the artifact’s life as an object. That’s why Read hastens to add one very important rule for anyone interested in reassembling the puzzle: never move the artifact away from its original location.

“An artifact has a context…its place in time and space, and its association with other artifacts,” Read says. Without that context, she continues, you might miss the point of an object entirely.

“A lot of the training in doing this is not just learning the dishes, but learning past manners and how people used the material culture of the past,” adds Read. “You need to know all of these things to paint a really good picture.”

Step 4:
Check in with the experts

Read has spent more than 25 years learning everything she can about artifacts of the Mid-Atlantic region. So, admittedly, she has a brain full of details that help her identify objects much faster than the average Joe. But, she said, there are plenty of resources out there for budding archaeologists.

“It’s accumulated knowledge, it’s shared knowledge, and it’s knowing what the printed resources are and where to find them,” she says. (See “Now What?” for some of her suggestions .)

If you want to truly solve your pottery mystery, you might also contact someone like Read at a nearby university, or visit your local historical society. People there are often more than happy to talk shop, Read said.

“I get a lot of calls that start out, ‘I’ve got a rock, can you help me?’” Read says. After some clue-gathering, however, these seemingly insignificant discoveries in the backyard often lead us to better understand our nation’s history.

“We can never go back to the past,” she says, “so we have to reconstruct it from what we find.”

Now What?

Interested in learning more about archaeology? Check out these resources:

1. A Guide to the Artifacts of Colonial America by Ivor Noël Hume – With more than 100 photographs and illustrations, this book is considered the most accurate reference guide for artifacts of this time period.

2. UMBC Ancient Studies Website – The department website at www.umbc.edu/ancs includes information on upcoming travel/study opportunities and department news, as well as a list of online databases and other resources covering everything from the Bronze Age to medieval studies to nautical archaeology.

3. Local and National Societies – Visit the Archeological Society of Maryland at www.marylandarcheology.org or the nation’s oldest such society, the Archaeological Institute of America, online at www.archaeological.org, for dig news, resources and opportunities for networking.

[youtube http://www.youtube.com/watch?v=DSllKsQAtz8]
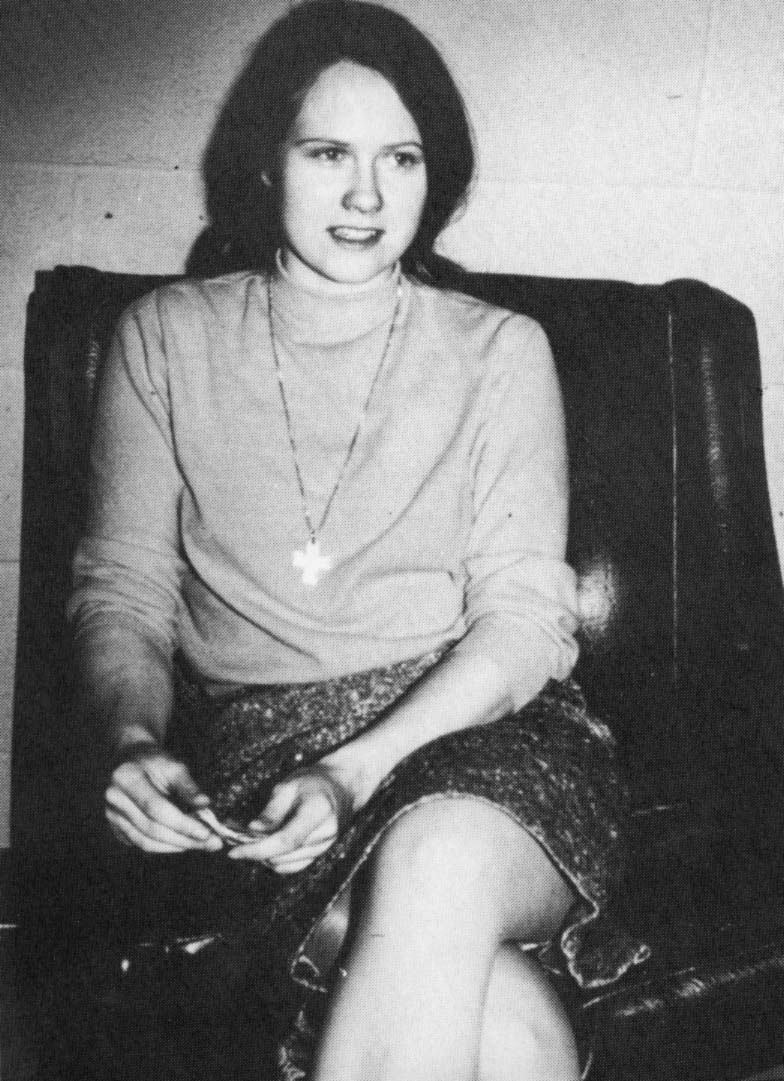
First of the Fab Fours – Robin Keller Mayne ’69, American studies

When Robin Keller Mayne ’69, American studies, graduated from UMBC, she wore no robes and no mortarboard. There was no crowd to cheer her across the stage. In fact, there was no stage.

It was 1969, just three years after the university opened its doors, and one year before its first official commencement ceremony. So instead of publicly turning a tassel – or even giving much thought to her pioneer status in UMBC’s history – Mayne quietly collected her books and resumed her daily life as a mother and teacher.

“I feel as though it was just an accident that I was UMBC’s first graduate. It just happened,” said Mayne, who now lives in Fort Worth, Texas, where she works as fleet administrator for Jacobs Engineering. “For a while I was neck and neck with another girl… but I finished classes in December 1968, and that was that.”

Mayne began her undergraduate study at the University of Maryland at Baltimore, then transferred to the brand-new UMBC in 1966 in order to attend daytime classes. With her daughter in daycare, Mayne commuted to UMBC, working part-time as an administrative assistant in what was then known as the social sciences department. She made coffee and typed syllabi for professors – many of whom were not much older than their students.

“Some of my dearest memories are from working there,” said Mayne, who was drawn in by the spirit of intellectual curiosity on the new campus. “It was the ’60s – everyone was questioning everything. Our professors were so young and excited. They pushed us. They didn’t want you to just accept what anyone told you.”

Without a true student union – or even a separate library – UMBC’s first 700 or so students hung out in the cafeteria, discussing their classes across disciplines. Mayne’s favorites? A course discussing “The God is Dead Movement,” another on the American novel, and a class focusing on social psychology.

“My classes dealt not only with subject matter, but also issues, real issues that were stirring in all of us during the ’60s,” she said. “I was being confronted with complex questions which demanded soul-searching answers. No longer could I just absorb material and spit it back on a test. I was being forced (sometimes dragged) into thinking critically.”

Many of UMBC’s earliest grads – sometimes referred to as “The Fab Four” – speak wistfully of the university’s first days and the “three buildings and a pile of mud” at the center of what was originally an orchard. Mayne recalls a similar landscape – one of pure potential, as much for intellectual philosophy as bricks and mortar.

“I would arrive on campus at 7 a.m. You’d have the fog lying on the hill and I swear you’d see deer crossing,” she said. “It was really quite wild…It’s so hard (now) to imagine it was ever like that.”

Following graduation, Mayne left her native Maryland. She worked in Nashville as a Head Start teacher, then moved to Germany with her first husband. She also made a stop in Missoula, before arriving in Fort Worth, where she started a career in information technology and made a life with her current husband, Jim.

“Nobody had degrees in computing or IT then,” she said. “They’d determine you had an aptitude for it, and then they’d train you.”

A few years later, in 1991, Mayne earned her master’s degree in software design and development from Texas Christian University. And more than twenty years after her departure from her first alma mater, the mother of two finally got to turn her tassel.

“I got to walk across the stage and do the whole nine yards.”

— Jenny O’Grady

How to Give a Dawg a Facelift

With Jim Lord ’99, Design Director, Creative Services

They say you can’t teach an old dog new tricks, but how about an old Dawg?

As universities change, mascots evolve along with them, and so it goes for True Grit this summer with the rollout of a brand-new look, as voted upon by more than 2,500 students, faculty, staff and alumni.

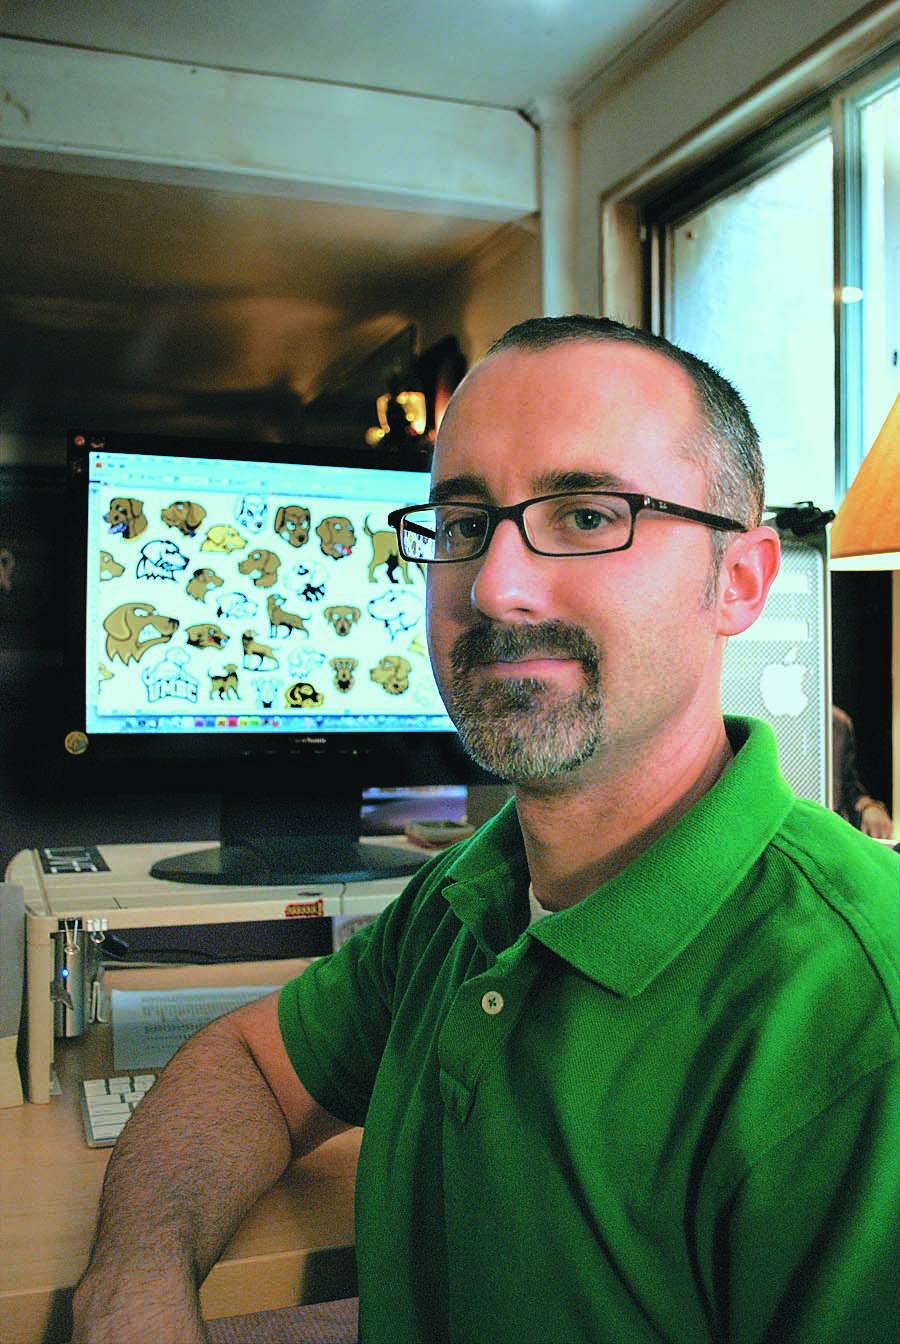
Creating a new athletics mascot for UMBC was more than a simple point of pride for Design Director Jim Lord ’99, visual arts – it was a matter of keeping up with the big boys of university athletics. As designer of the latest and most recent athletics mascots, Lord was perhaps the biggest critic of his past work – and one of the biggest proponents of change.

— Jenny O’Grady

Step 1: Sniff around to find out who’s top dog

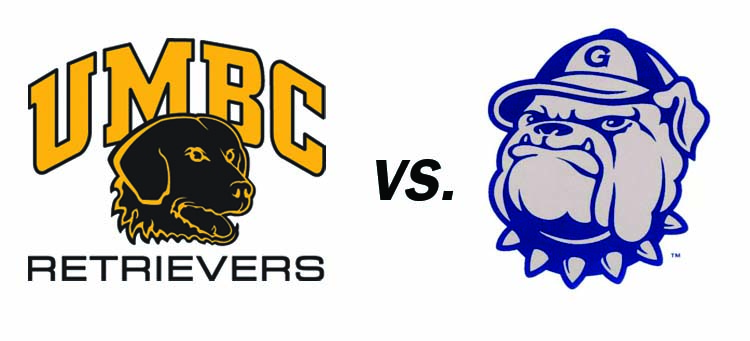
For Lord, seeing the Retrievers men’s basketball team advance to the courts of the 2008 NCAA tournament – and comparing the Dawgs’ 10-year-old athletic mascot to that of their opponents, the Georgetown Hoyas, on the national stage – was enough to spark the first conversation about a mascot facelift.

“We didn’t match up to our competitors,” he said. “In fact, we seemed kind of dated and flat in comparison.”

So, Lord started looking closely at the mascots of other universities and major sports teams. As a designer, he noticed some major trends – colorization techniques, letter blocking, etc. – and as an alum himself, he thought about ways of spinning the personality of the kind and loyal Chesapeake Bay Retriever into something fierce enough to put some scare into the opposing teams’ gym shorts.

Step 2: A lot of barks (and a little bite)

True Grit has not always looked like True Grit. In fact, the dawg has morphed over the years at least five times, shifting from a pointer and then semi-humanoid basketball dribbler in the 1970s, to a curly-haired sweetheart with a shield (early 1990s) or Maryland flag-inspired banner (late 1990s), to the dark and toothy version of the early 2000s, which Lord designed.

That’s why getting folks’ opinions was such a big part of the process, Lord said. As he made the rounds of focus groups with athletes, students, faculty, staff and alumni, he discovered (surprise!!) that people sometimes got a bit worked up about their favorites.

“It was a lot of fun finding out people’s opinions… that’s what we really did right this time,” said Lord. “We involved athletes and coaches and students and alums.”

Step 3: Try, Try Again

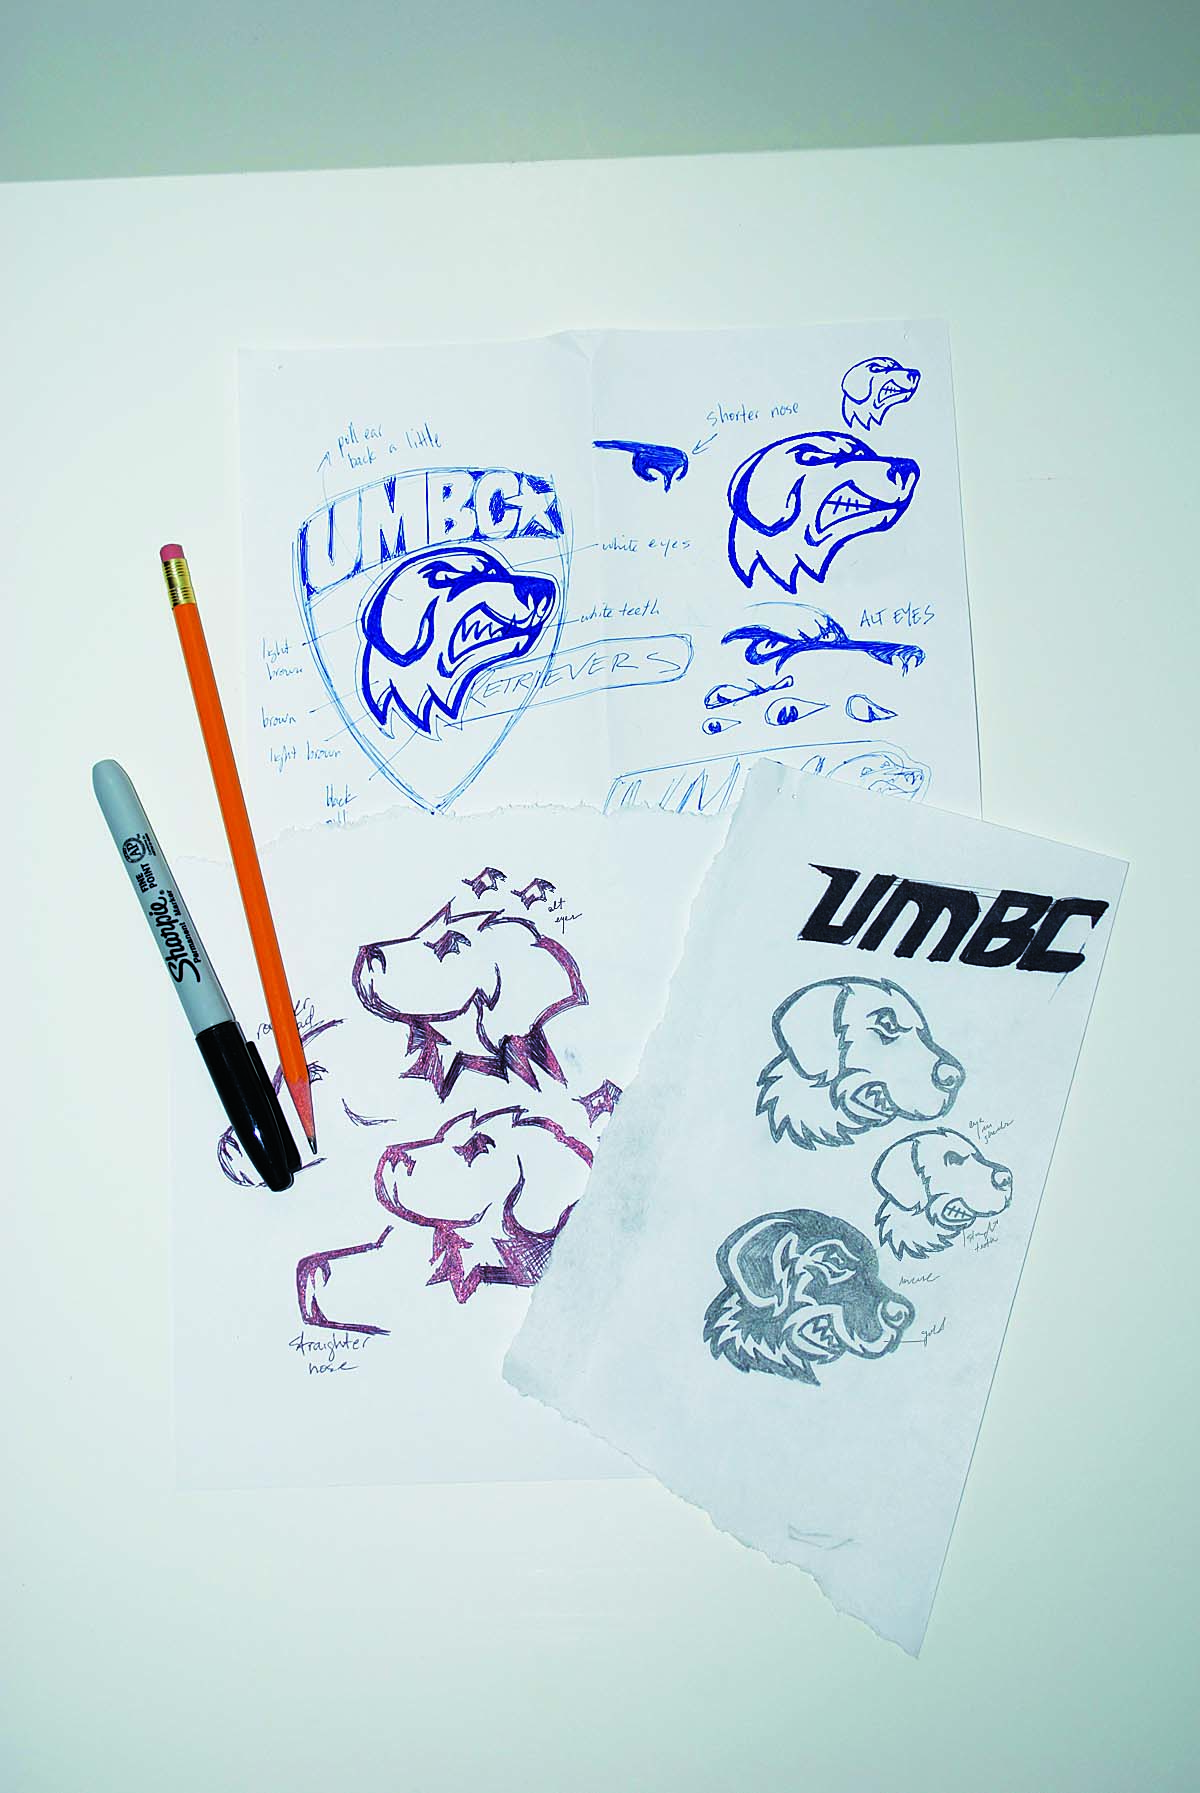
Over the course of half a year, Lord drew more than thirty different versions of the dog. Some had squinched eyes and snarling teeth. Some went heavy on the Chesapeake Bay Retriever curl. Or detailed muzzle and nose. Some, Lord tossed as soon as he drew them.

“For every couple that saw the light of day in the focus groups, there were four or five that I just said ‘No, that’s not cutting it’ – so I scrapped them,” he said. “There’s a fine line between realistic and cartoonish,” said Lord, who keeps some of his original pencil drawings on the board near his desk. “For a while, it seemed like no matter what I came up with, it still looked like a cartoon. What we really needed was something more stylized.”

Step 4: Let the dogs out

Just like a university athletics tourney, it was suddenly down to the final, um, three. Which, for Lord, meant hitting the streets once again for feedback from the coaches, the athletes – and just about everyone else in the UMBC universe.

“A lot of people needed to see it. They couldn’t always necessarily tell you what they want, but they could definitely tell you what they didn’t want once they saw it.”

During Homecoming weekend, Lord and fellow staff manned a voting station, where alums and students could choose their favorite. Soon after, an online poll was posted on myUMBC. With more than 2,500 votes by students, faculty, staff and alumni, UMBC had an overwhelming winner: one described by several alumni as “solemn,” “proud” and “strong.”

“I like it,” said Lord. “Times change, and trends change. I think we fit in a lot better with our competitors now.”

See a complete history of UMBC’s athletics logos online here.

Now What?

So how exactly does a university roll out a new mascot?

1. True Grit in the Bookstore and The Commons: With each new school year, the campus bookstore orders new t-shirts, sweats and other Dawg merchandise. Expect to see the new Retriever logo in the store starting May 12 – the same day The Commons will unveil a ginormous new Dawg on the walls of the Sports Zone.

2. True Grit on the Record: As the department of athletics updates its web and stationery, the dawg will become a presence on both.

3. True Grit in the RAC: Slowly, but surely, the new dawg will be replaced on the walls and seating of the Retriever Activities Center.

How to Build a Ramen Bridge

With Dr. Timmie Topoleski, Professor of Mechanical Engineering

Back in 1958, when the late Japanese food magnate Momofuku Ando developed his first package of ramen – a dried noodle requiring boiling water and a simple flavor packet to deliciously “activate” in your lunch bowl – little did he know he had created what would become a staple of college culinary life. He probably also didn’t realize the wavy bricks held yet another potential use: noodle bridge.

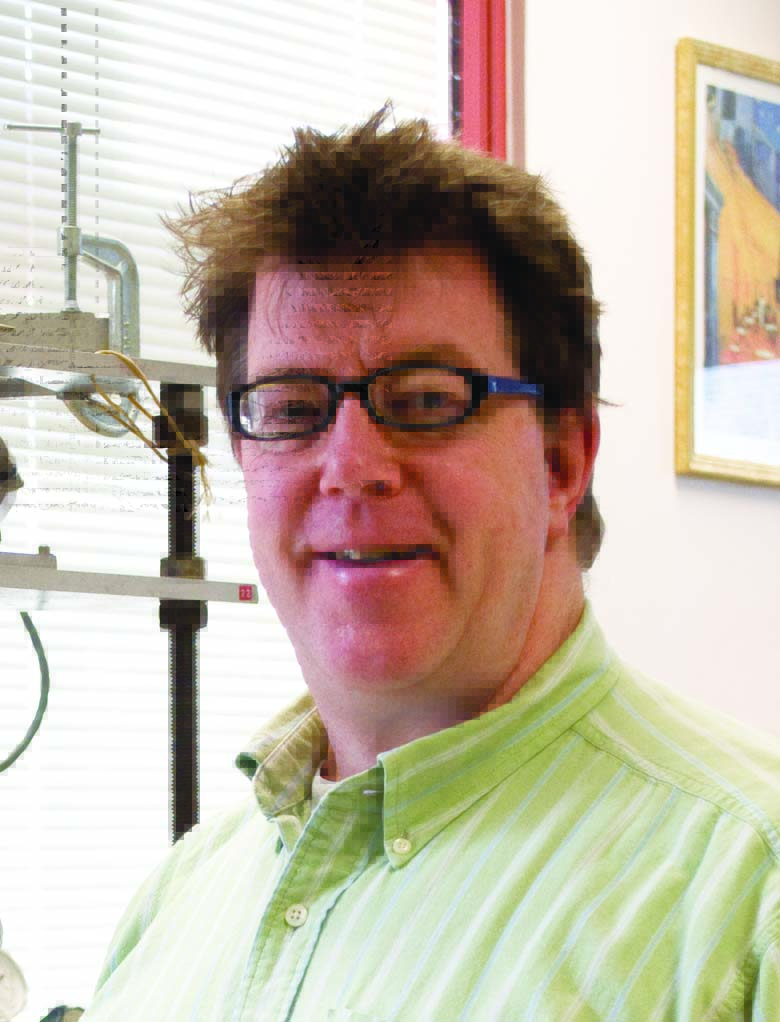
In honor of UMBC Magazine’s very first food issue, we asked UMBC mechanical engineering professor Dr. Timmie Topoleski to consider ramen as a legitimate building material. If you build a ramen bridge, how much weight could it handle?

— Jenny O’Grady

Step 1:  Set a Reasonable Goal

How big should the bridge be? How much weight should it bear? Why build it? (We’re chalking the last one up to “scientific curiosity.”)

For this project we decided to build a ramen bridge that would hold any or all of the following: 1) a True Grit puppy toy, 2) a cow femur (used in Topoleski’s real-life research on wear and resistance in artificial joints), or 3) as many packets of ramen as possible, weighing three ounces apiece.

Step 2:  Test the Structural Integrity of Your Materials

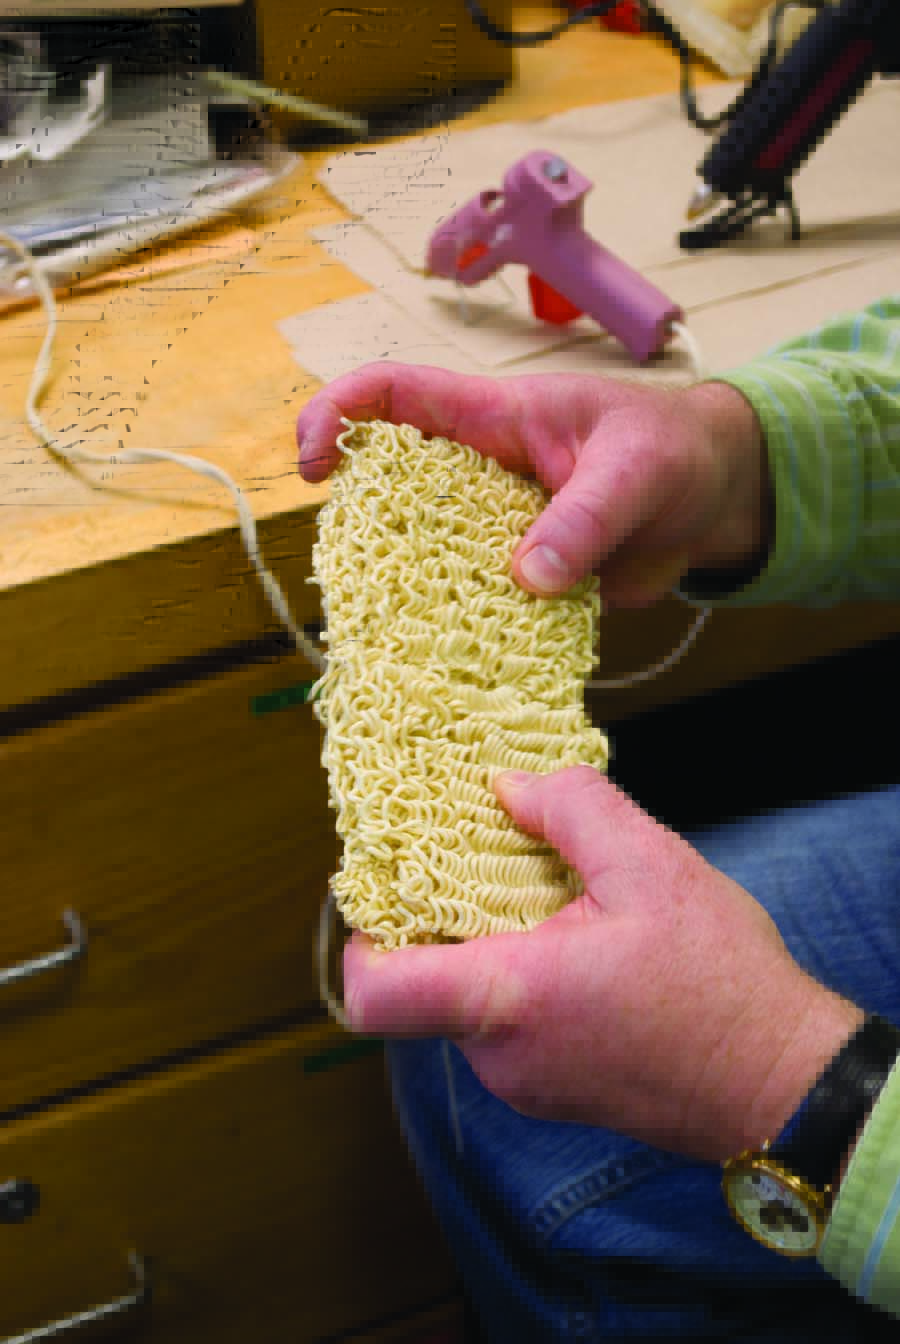
Uncooked ramen comes in solid bricks measuring around 4 by 3.5 by .75 inches. (Appetizing, right?) As Topoleski discovered, the bricks aren’t as randomly constructed as they might seem at the bottom of your lunch bowl. In fact, each has a noodly cuff on one end, perfect for joining to another brick.

Kept uncooked, ramen makes for a fairly predictable building material. So, how best to arrange it to make the strongest bridge possible? I-Beams? T-Beams? Flat or end-to-end? Considering the wavy pattern of dried noodles, Topoleski decided to try a two-tiered alternating hinge, similar to what you might find in brick wall construction.

Step 3:  Determine the Best Method of Bonding

Knowing the obvious option of using uncooked ramen bricks, Topoleski also considered wetting the noodles and reshaping them to dry in another form. However, given the time constraints of a guy who is not only a popular professor but also involved in numerous campus groups, we all decided to keep things simple – and dry.

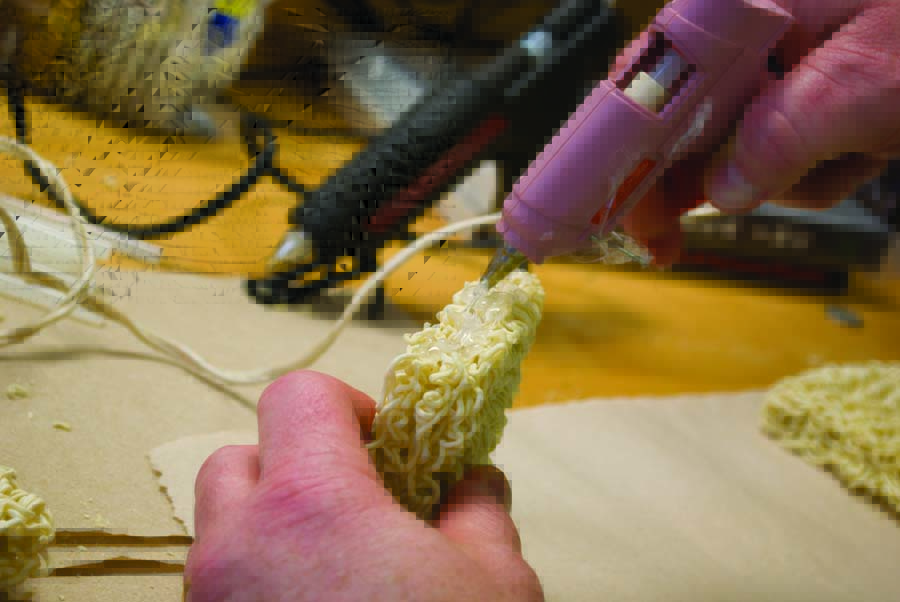
“What we need is something that will penetrate and interdigitate with the fibers [of the noodles],” he decided. Elmer’s glue? Takes too long to dry. The silicone he uses in his joint research? Much too expensive. Hot glue? Cheap, strong and fast-drying. Eureka!

Step 4:  Bridge Construction

Armed with a baggie of hot glue sticks and enough ramen to feed sixty college freshmen, Topoleski started gluing…and gluing…and gluing until he had what we called “the seven ramen bridge.” Using his “spot weld” plan cost approximately one stick of hot glue per weld, so for a structure seven ramen bricks long and two high, he used a little more than a dozen sticks for mortar.

Step 5:  Test, Test, Test

Now for the fun part: loading weights on top of the bridge until it breaks. As Topoleski explained it, engineers learn as much from failures as successes. Good thing, considering how quickly ours collapsed.

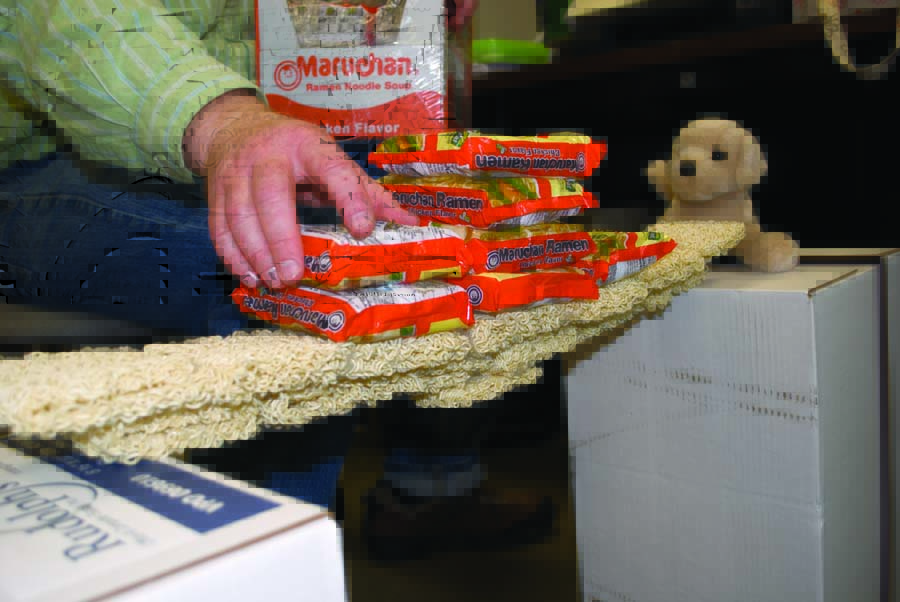
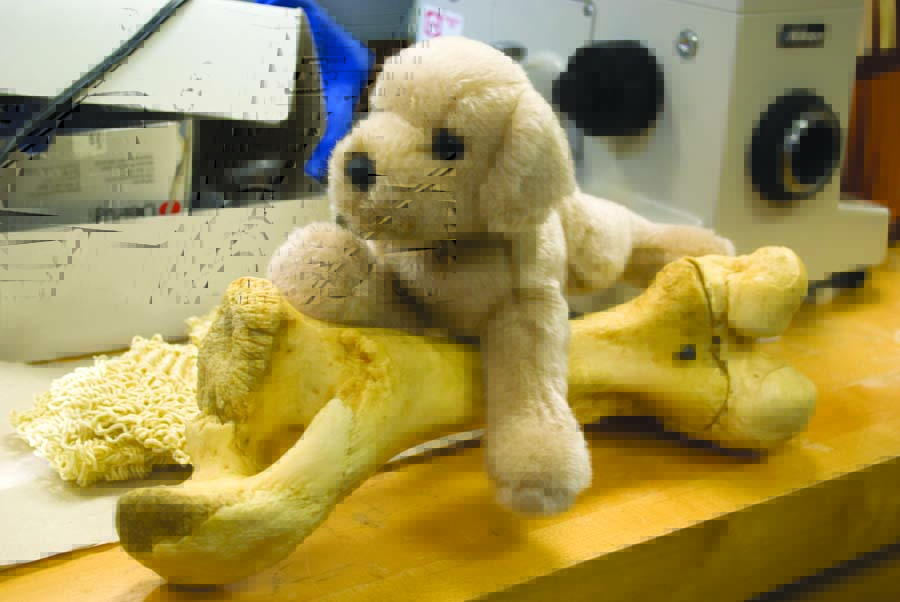
Balancing the span of ramen across a gully approximately two feet deep, we first tested the seven ramen bridge with the 20-ounce True Grit stuffed puppy. When that broke in half after around 10 seconds, Topoleski used the fallen halves of the bridge (three and four spans each) to test again, this time piling packets of ramen noodles as high as possible. When those also broke, he tried a tiny two-span bridge, which held the dog and the hefty cow femur for nearly 30 seconds. Seems that shorter is sturdier in the case of ramen.

“For an off-the-cuff experiment, it’s not too bad,” said Topoleski. “We definitely learned this is not the best way to make a ramen bridge!”

Results

1) The seven ramen bridge held one 20-ounce True Grit stuffed puppy or seven packages of ramen (21 ounces total)
2) The three ramen bridge held 25 packages of ramen (four pounds, 11 ounces)
3) The two ramen bridge held one 20-ounce True Grit stuffed puppy and a 2.7-pound cow femur

[youtube http://www.youtube.com/watch?v=ZMoF2ESESac]

How To Make A Killer Mix Tape

With Joseph “Skip” Morin, Associate Chair & Lecturer, Music

In the 2000 hit film “High Fidelity,” romantically challenged record-store owner Rob Gordon discusses his own torturous process of making the perfect mix tape for a girl:

“The making of a great compilation tape, like breaking up, is hard to do and takes ages longer than it might seem. You gotta kick off with a killer, to grab attention. Then you got to take it up a notch, but you don’t wanna [overdo it], so then you got to cool it off a notch. There are a lot of rules.”

Sound daunting? Fortunately, Joseph “Skip” Morin, associate chair and lecturer in the UMBC’s music department is here to help. He has taught a “Rock and Related Music” course at the university since the mid-1990s.

— Jenny O’Grady

Step 1: Don’t Fear “The Blank Page”

You might find the prospect of choosing 10 to 15 songs from the – literally – millions ever written to be a bit scary. But don’t let this stop you before you even start.

“It can be such a vast endeavor,” says Morin, who made a mix tape for his son, Nick. “It’s something that could take a lifetime to do…or it could take an instant. Eventually you choose something that means something to you…if only to you.”

Step 2a: Know Thy Audience…

Who will be listening to this mix? Thinking about your audience before compiling songs will help you choose tracks that really speak to the listener.

“Is it for a single person’s pleasure,” asks Morin, “or for a group activity? You have to know who’s going to be listening before you start.”

Step 2b: On the Other Hand…

Don’t worry too much about what you think their reaction will be, he insists.

“Mix tapes ultimately have more meaning for the preparer than the person receiving the tape,” he says. “There’s no guarantee that the recipient will have the same reaction as the person who makes the tape.” And that’s OK.

Step 3: Pick an Awesome Theme

Love. Longing. Songs for shower singing. Songs for impromptu dance parties. Songs for days long past. Most any idea can be the starting point.

“One of the great virtues of music is the possibility that it can transport you back in time,” says Morin, who made a special mix tape for his son, Nick, after the two spent a memorable summer jamming on their guitars in their living room. “Capturing those moments in a musical state of reminiscence is a really great thing to do. You’ve got to catch it while you can.”

Step 4: Arrange Your Set List

Once you’ve chosen your songs, move into album-producer mode. You can vary your song order by pace, or go year by year from past to present. Group the songs by artist, or link them with a storyline. (Boy meets girl. Boy loses girl. Boy gets girl back again.) The options are limitless.

“A lot of people see the order of the songs, the compilation, as an art form,” says Morin, who considered both song pace and theme while ordering the mix tape for his son.

Step 5: Presentation is Key

As for the look and feel of your mix tape, you can go ultra high-tech – or keep it super low-fi. If you’re going the cassette-tape route, you might enjoy decorating the label stickers to match your theme. If you have iTunes or another online music account, you can easily burn a CD and even create jewel case art. Some music-video enthusiasts have taken the concept even further by using artwork and music to create video mix tapes to post on YouTube.

For Morin and his son, it was more meaningful to scribble set lists on paper, and then share them face-to-face. At least for now.

“I do think we’ll record them eventually,” he says. “I like the idea of permanence.”

Click here to see their mix tapes.

How To Purify Water With Simple Tools

With Karin Readel, Senior Lecturer, Geography & Environmental Systems

You never know when or where extreme thirst might occur. Exploring ancient ruins in the Amazon, you drop your canteen into a snake-filled gully. Or you’re hiking in the Appalachian woods, miles from a water fountain.

Or, maybe you’ve always craved a sip of the water in UMBC’s Library Pond. No need to fret. With the help of Karin Readel, senior lecturer in UMBC’s Geography & Environmental Systems program, and her sidekick, Bob the dog, you can have your lake and drink it, too.

— Jenny O’Grady

Step 1: Collect the Water Sample

Be careful not to upset the water unnecessarily. Readel used duct tape to attach an old broom handle to a clean plastic water bottle so she could gain better access to the water at Library Pond. By lightly skimming the top with the bottle, she avoided disrupting the sediment closer to the bottom of the pond. As the saying goes, let sleeping gunk lie.

Step 2: Filter the Water, Part I

If you’re a light packer, you might not have remembered to take coffee filters with you on your trip to the Amazon. If so, a clean handkerchief or paper towel works. Use the filter/hankie/towel to cover the mouth of the metal pot, then pour the water you collected into the pot. You should see bits of sediment collecting in your homemade filter. It’s mostly unicellular green algae, says Readel. Mmmm…algae.

Step 3: Boil the Water

Remove the filter from the top of the pot, and place the pot atop your stove or campfire. Bring your water to a rolling boil that lasts for at least five minutes, if not longer. This is important! Boiling the water kills any major bacteria you might find swimming around, so your belly won’t play host to a parasite circus.

Step 4: Filter the Water, Part II

Once your water cools down, repeat Step 2, this time placing your filter on top of the original bottle and pouring from the metal pot. Be careful not to accidentally place the sediment-laden side of your filter upside-down over the vessel. You wouldn’t want to wash your first round of gunk back into the water, now would you? Yuck.

Step 5: Let it Settle…Then Drink It!

Remember in Step 1 when we told you not to disturb the bottom of the pond? The same principle works here in Step 5. Allow your newly-filtered water to sit for a few minutes, and you’ll notice the remaining sediment falling to the bottom of the bottle. Once this has happened, carefully tip the container and drink from the top of the water. Cheers!

A WORD OF CAUTION
In an ideal world, you might run a simple $2 fecal coliform test on your water before drinking it, like we did in Readel’s lab before the filtration process. However, this isn’t always possible. Please be careful of where you get your water, and always think before you drink.

Click here to view the video.

senior theatre design and production major Isabelle Tabet 

https://umbc.box.com/s/1qcqhedad61wwmjh8rxsku2iqp0zkvts

One Million Acts of Good

It sometimes feels impossible to make an individual mark on a problem as widespread as hunger. But, as part of the “One Million Acts of Good” program sponsored by Cheerios and Ellen Degeneres, UMBC students worked together this week to contribute to a nationwide effort to feed those in need.
Twenty-four students worked in shifts to stuff 300 boxes full of cereal, applesauce, and other food, as well as information and encouraging notes. Chartwells, which runs UMBC Dining Services and True Grits dining hall, said that five local organizations will receive the boxes, including  Southwest Emergency Services, Elkridge Food Pantry, Maryland Food Bank, Inc., Catonsville Emergency Assistance, and UMBC’s own Retriever Essentials, which maintains a campus pantry of food for students who need it.
“The idea of assisting people in need is just wonderful,” said Kristy Chan, a freshman biology major who cheerfully stuffed boxes aside her friends, including fellow freshman Kusum Sharma, mechanical engineering.
“I like volunteering for things like this because I know somewhere in the world someone is receiving what I did,” said Sharma. “That feels really, really good.”

Over the course of nine years, UMBC’s Exceptional by Example Campaign raised money to invest in a community without boundaries, made up of teachers, students and researchers who come from every imaginable background and share a commitment to academic excellence and innovative thinking.

More than $115 million was raised to provide resources that advance th